Chaddledee
Member

|
Hello there! I have explained how to use Blender to two people now, and they both said I helped a lot, so I thought I may as well make a tutorial. I hope you all download Blender and have a go. Pictures will be coming soon!
First things first, it seems there is a command prompt that opens up when you start Blender. It is important that you do not close this, for it will also close Blender. Okay, now we have that out the way...
SETTING UP THE INTERFACE
I am going to tell you how to set up a simple interface which is best for modelling, and gives you all different veiws.
1. Right click on the bottom border of the veiwing window, and click "Split Area". Split the window into 2 halves, one on top of the other.
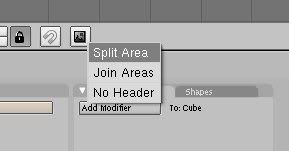
2. Right click on side of each window, and click "Split Area", and split them in half. You should now have 4 windows, equal in size.
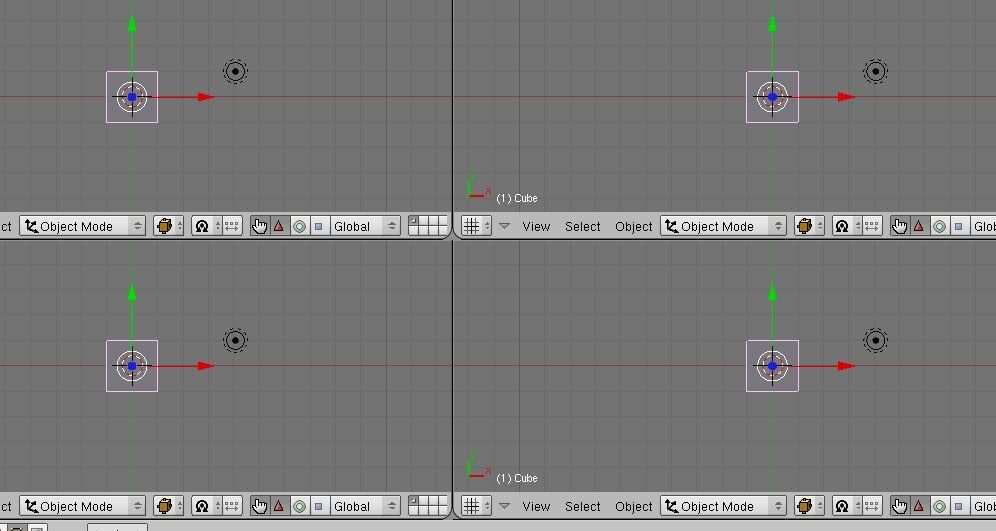
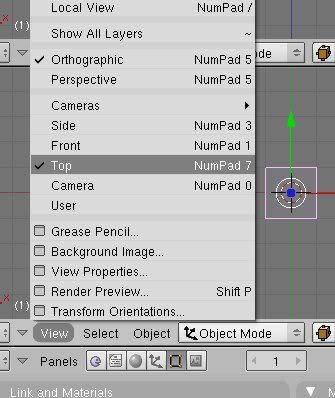
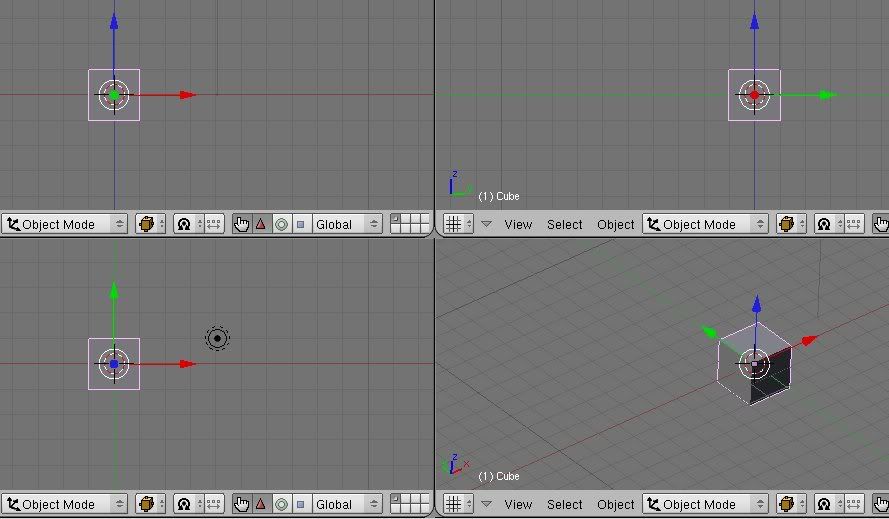
3. On each window, click the "Veiw" tab. Set one to "Top", another to "Front", and a third to "Side". On the last window, middle-mouse click and drag, so you have a 3D veiw.
4. You can zoom in and out by scrolling the middle mouse button.
You should now have an interface that gives you all 3 veiws, and a 3D veiw.
MAKING A MODEL
Now we have the interface set up appropriately, we can begin.
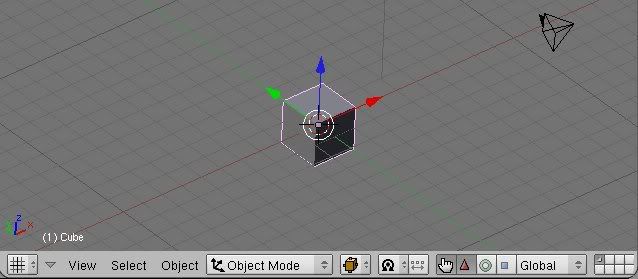
1. The pyramid with the arrow pointing off one of the base edges is the camera. You will be able to see anything in it's veiw when you render. The circle is the light. Bear them in mind when you are modelling.
2. To select an object, right click on it once. To select a group of object, hold shift and click them. You can also press B, and select a group of objects by dragging a box around them. To deselect everything you have selected, press A. If you have nothing selected, pressing A will select everything.
3. Press the Space-bar to open the object menu. Hover over "Add". Here you can add all sorts of shapes. To keep it simple, we will only be using meshes, so hover over "Mesh". All the meshes are pretty self-explanatory. The difference between UVsphere and Icosphere is that UVspheres are rounded, and the points are in segments and rings. Icospheres are made up of triangular faces.
4. After having a look at all the different meshes, we are going to change them. There are 3 ways in which you can change an object : Move, Rotate and Scale. If you look at the bar at the bottom of a veiwing window, you can see 3 squares, with different icons in. The red arrow is for movement, the green circle is for rotation, and the blue square is for scaling.
A. Movement
To move an object, click the red arrow icon. You should now have arrows pointing in the 3 axis. Just left-click one and drag to move the object along that axis.
B. Rotation
To rotate an object, click the green circle icon. There should now be 3 rings going around your object. Left-click one of the rings to rotate it upon that axis. I find it easiest to rotate in the 3D veiw.
C. Scaling
To scale an object, click the blue square icon. There should now be 3 lines pointing in the 3 axis, much like Movement, but with squares instead of arrows. Just click on one of the squares and drag to stretch the object along that axis. You can also press S and move the mouse to make it bigger in all directions.
EDITING YOUR OBJECTS
1. On the toolbar of the veiwing window, there is a sort of scrollbar. Click it and set the mode to "Edit".
2. As default, you can select vertices by right-clicking them. If you middle-click and drag the toolbar of a veiwing window across, you can see 4 icons; a few dots, a line, a triangle and a cube. It is set as default to the "dots" icon. This allows you to select vertices. You can change it to the line icon, which allows you to select edges, and the triangle icon, which allows you to select faces.
3. Now you can move, scale and rotate vertices, edges and faces, in the same way you did with objects.
4. Using border select (B) is useful here to get perfect symmetry.
RENDERING YOUR OBJECT
To render your object, go to the "Scene" menu by press F10. Then, press "Render". Simple as that.
I hope now that Blender is a bit less confusing, and is easier to use.
/bow
< Message edited by Chaddledee -- 12/7/2008 12:41:58 >
|
 Printable Version
 Icon Legend
 New Messages
 No New Messages
 Hot Topic w/ New Messages
 Hot Topic w/o New Messages
 Locked w/ New Messages
 Locked w/o New Messages
 Post New Thread