Home  | Login  | Register  | Help  | Play 

iPod Tutorial...GIMP/PS

 
Logged in as: Guest
  Printable Version
All Forums >> [Gaming Community] >> [Legends and Lore] >> Artists of Legend >> Art Academy >> iPod Tutorial...GIMP/PS
Forum Login
Message << Older Topic   Newer Topic >>
11/6/2007 7:54:01   
Saerokeon
Member
 

For those of you who love iSigs...or iAvatars...I'll show you how to make them (I'm making an Avatar but it's enlarged for show). And for PS, the pictures/tools may vary.


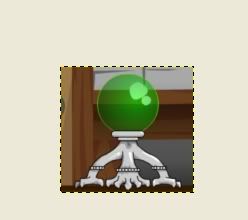
1) Get your render. I'm doing the awsomest DF NPC ever.


2) Use this tool. I like to zoom in, but do it how ever you like to and start clicking.


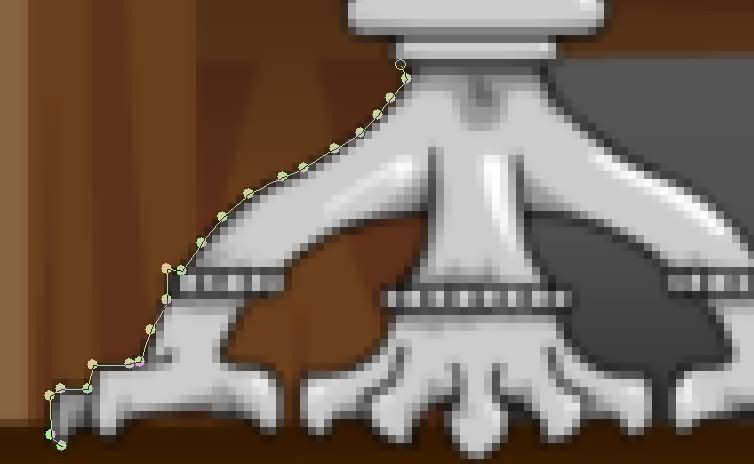
3) Zoom out and it should look something like this.


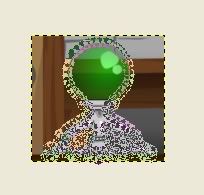
4) Create a selection of it, copy it, open a new window, and paste it.

http://i219.photobucket.com/albums/cc58/CO_dude/ip5.jpg

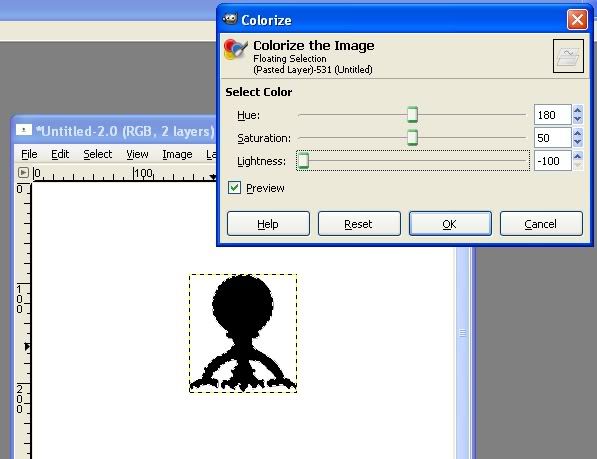
5) If you have GIMP 2.2, go to Tools>Color Tools> Colorize And if you have 2.4, go to Colors>Colorize, and use these functions


6) Put in your backround...


7) Use this tool again and start making your ear phones. Then stroke the path with white, 1.0 pixels or below.


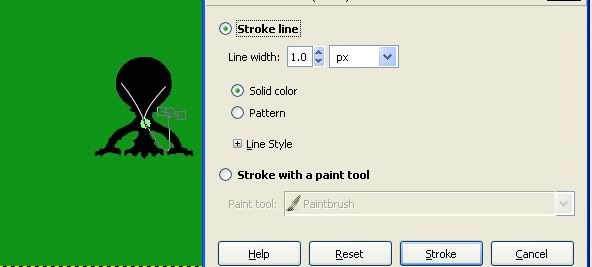
8) You should have something like this so far. Now for earphones and the iPod, either use the same thing we've been using or use your regular 3x3 pixel brush. And of course text.


I hope your results are better than mine!

< Message edited by Cyseros Orb -- 11/6/2007 18:14:10 >
Post #: 1
11/6/2007 14:25:12   
Trip
Member

^__^ Nice tut
You Can Just Put Alpha To Layer to the render and color it black
Post #: 2
11/6/2007 15:17:16   
rikimaruw**
Banned


Even though I hate iPod sigs I always wondered how they did it
DF  Post #: 3
11/6/2007 16:44:54   
_Depression
Member

A little tip, for the first step, use less anchors originally (one at every corner, almost, or once every two angle changes), and use the "Edit" selection on the Paths tool to make the lines fit snugly around the edges.

=)
AQ  Post #: 4
11/7/2007 18:08:50   
war0411
Member

So, you have to outline the whole pic, or just the side?
AQ DF MQ  Post #: 5
11/7/2007 18:30:41   
Saerokeon
Member
 

Just...ouline the render. In my case, it's the green orb.
Post #: 6
11/9/2007 17:47:22   
Necromancer X .
Member

i love this tut i never tought of it doing it this way

_____________________________


My Gallery| The Clan TBNSOA| The MQ Shop
AQ DF  Post #: 7
11/9/2007 17:51:06   
Linguini
Member

Lol, I just used the eraser tool.
Post #: 8
11/12/2007 19:40:13   
Waseinseon
Member

Great help to the iSigerry...thats not open. Oh well.
DF  Post #: 9
2/25/2008 18:39:30   
ShyTrake
Member

Great tut, it is helping me out. But I can't get something. After I used the path tool and zoomed out, you said copy it? How do I copy it? I'm used to right clicking the pic and clicking copy, but I can't do that. I feel so stupid that I don't know how to do this....I guess it's because I'm doing this for the first time.
AQ DF MQ  Post #: 10
2/25/2008 19:55:53   
Fartix
Member

^

You need to click "Path to Selection" first. It's in the main GIMP Window/Toolbox.
Post #: 11
2/25/2008 20:35:19   
ShyTrake
Member

Okay, I did that. After I copy paste and darken, now I have another problem. I am trying to use the bucket fill, and those lines stay there around the render and I can't do anything with the background, just the pic. I think it is because of the lines, how do I get rid of them?

< Message edited by Trake -- 2/25/2008 20:36:53 >
AQ DF MQ  Post #: 12
2/25/2008 20:56:37   
Fartix
Member

Go to Select>>Select None (ctrl+shift+a)
Post #: 13
2/25/2008 21:16:05   
ShyTrake
Member

It still doesn't work! Maybe I should try again. It's the lines around my render from using the add paths option, not because something is selected. It won't let me click unselect unless I click select all. Oh wait, I got it to work now.

< Message edited by Trake -- 2/26/2008 16:22:29 >
AQ DF MQ  Post #: 14
2/26/2008 0:23:30   
DeathKnight2
Member
 

If you have PS and its a render you can go to blending options and set color overlay to black.
Really nice tut tho...
Post #: 15
2/26/2008 20:59:43   
Sara
Member

Great tutorial for GIMP, but for Photoshop you should make a separate one.

_____________________________

AQ DF MQ  Post #: 16
2/29/2008 21:54:11   
4jj11
Banned


what I made using this, and I did pm seahawk to add them:)

< Message edited by 4jj11 -- 2/29/2008 22:10:45 >
AQ DF MQ  Post #: 17
Page:   [1]
All Forums >> [Gaming Community] >> [Legends and Lore] >> Artists of Legend >> Art Academy >> iPod Tutorial...GIMP/PS
Jump to:


Advertisement


Icon Legend
New Messages No New Messages
Hot Topic w/ New Messages Hot Topic w/o New Messages
Locked w/ New Messages Locked w/o New Messages
 Post New Thread
 Reply to Message
 Post New Poll
 Submit Vote
 Delete My Own Post
 Delete My Own Thread
 Rate Posts


Forum Content Copyright © 2018 Artix Entertainment, LLC.

"AdventureQuest", "DragonFable", "MechQuest", "EpicDuel", "BattleOn.com", "AdventureQuest Worlds", "Artix Entertainment"
and all game character names are either trademarks or registered trademarks of Artix Entertainment, LLC. All rights are reserved.
PRIVACY POLICY


Forum Software © ASPPlayground.NET Advanced Edition