DeathKnight2
Member

|
Yes seconds! Guarenteed...
~~~~~~~~~~~~~~~~~~~~~~~~~~~~~~~~
Basic
Step 1-
Get any brush (I used rains clipping mask brushes) and mess around with settings
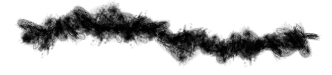
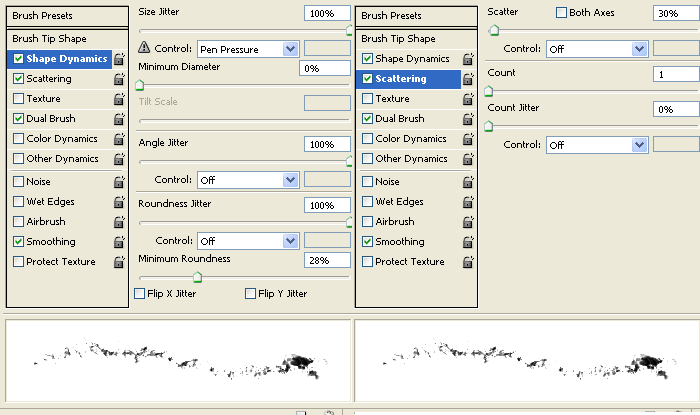
Step 2-
Take any random brush I used a spatter brush and check Dual Brush and mess with the settings
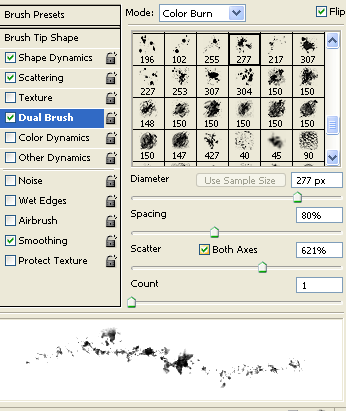
You're done O.O
____________________________________________________
Advanced
Here I present more advanced brush techniques- But really its still real easy :P
Color Dynamics
Color Dynamics is like color simlified if you know how to use it.
~~~~~~~~~~~~~~~~~~~~~~~~~~~~~~~~~~~~~~~~~~~~~~~~~~~~~~~~~~~~~
Foreground Background Jitter- I have no idea what it does but i'd put it at 50%
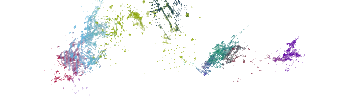
Hue Jitter- Basicly it is the amount of colors in your brush
0% is basicly you fg color and as you move the slider up more colors are added
If your FG was purple at 50% it'd be colors such as purple,light purple,pink, and red
100% would be all the colors of the rainbow. Get it?
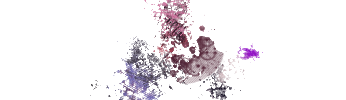
An Example- (100% Hue)
~~~~~~~~~~~~~~~~~~~~~~~~~~~~~~~~~~~~~~~~~~~~~~~~~~~~~~~~~~~~
Saturation Jitter- The saturation of your colors
It does not turn you colors black or over contrast it but
instead can create a wash-out color
~~~~~~~~~~~~~~~~~~~~~~~~~~~~~~~~~~~~~~~~~~~~~~~~~~~~~~~~~~~~
Brightness Jitter- Can make you brush a combo of your fg color and black or normal
Here is an example- (100% brightness jitter)
~~~~~~~~~~~~~~~~~~~~~~~~~~~~~~~~~~~~~~~~~~~~~~~~~~~~~~~~~~~~~
Purity- Is basiclly the purity of you fg color
For example 0% is normal
-100% is light gray
100% is a dark color (mine would be dark purple)
~~~~~~~~~~~~~~~~~~~~~~~~~~~~~~~~~~~~~~~~~~~~~~~~~~~~~~~~~~~~~~
Thats it for Color Dynamics!
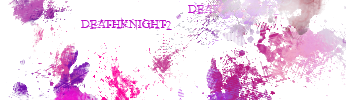
My result so far-
________________________________________________________________________________
Perfecting you brush
For making Brush Sets
Summary
Well now that you have your brush its time to perfect it for a brush set! Right now its kinda...meh...But this chapter helps perfect your bush by certain techniques such as
Sharpening,Smudging, and ect.
Now lets begin-
Step 1
Ok now check other dynamics under brush settings and set all the way to 100%. After that brush randomly around. Now you need some flow in the brush so then take the eraser (soft brush) and erase to create a shape. But not too much (so it doesn't look blurry on the edges) . Then uncheck other dynamics and brush more but not too much, you don't want to too be too dark.
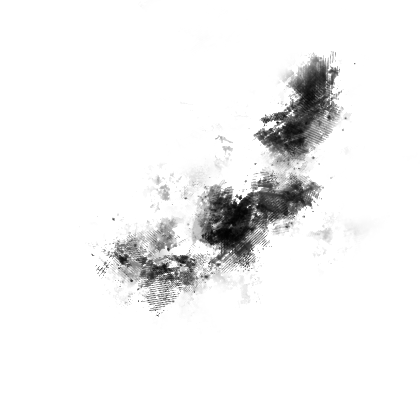
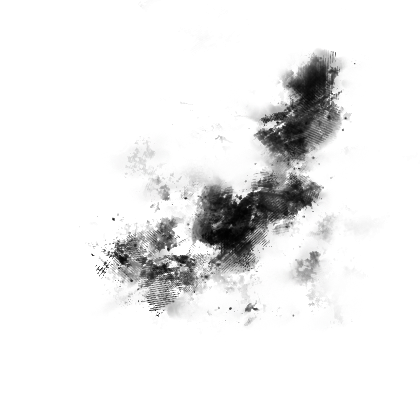
So this is my result-
Step 2
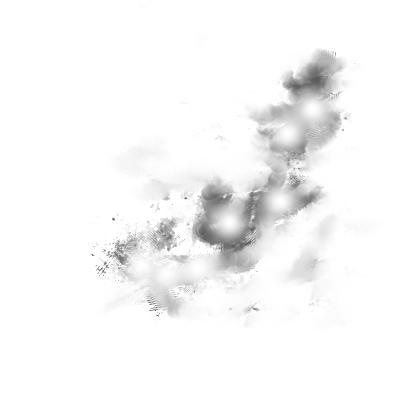
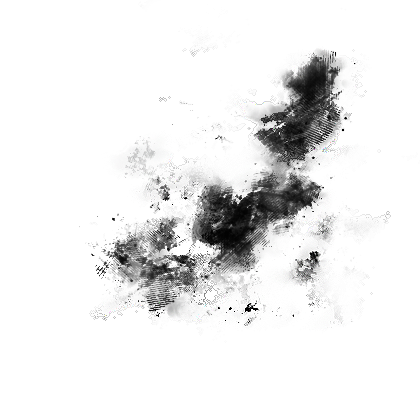
Now to add some depth. Duplicate this layer. And take a circle brush and smudge it a bit. So the smudged layer should look like this-
I have the dots in mine because it looked to dark in those parts.
Now place the layer under you unsmudged layer so it should look like this-
Now lets compare
Before-
After-
Step 3
Now its time to add some finishing touches-
First Apply image and then filter-sharpen-sharpen. Erase in ugly parts.
You should get something along the lines of this-

Now make a new layer and for stylize-trace contour. Use the wand tool to remove the white areas. And erase.
_________________________________________________________________________________
Now onto the next section :O
Effects to Add to you brush
-Sharpening
-Bluring
-Smudging
-Dodging and Burning
-Sponge Tool
-Gradient Maps
-Displacement maps
-Many More :P
Have fun :O
~~~~~~~~~~~~~~~
Results
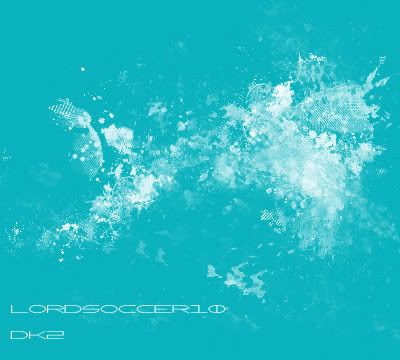
Its a brush set >.>
 <<<Burned Fire's result <<<Burned Fire's result
~~~~~~~~~~~~~~~~
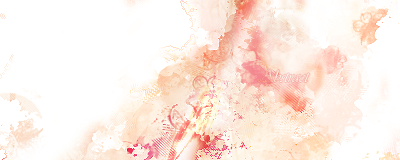
Also another addition
quote:
If you smudge the brushes a bit and make a new layer and brush some more you can get results like the second one ^^
:D
< Message edited by DeathKnight2 -- 1/19/2008 19:17:27 >
|
 Printable Version
 Icon Legend
 New Messages
 No New Messages
 Hot Topic w/ New Messages
 Hot Topic w/o New Messages
 Locked w/ New Messages
 Locked w/o New Messages
 Post New Thread